Renault Clio: Conrod bearing shell: Removal - Refitting
Renault Clio III (2005-2013) Service Manual / Engine And Peripherals / Engine And Cylinder Block Assembly / Conrod bearing shell:
Removal - Refitting
K9K
IMPORTANT To avoid all risk of damage to the systems, apply the safety and cleanliness instructions and operation recommendations before carrying out any repair (see Vehicle: Precautions for the repair).
IMPORTANT Wear leaktight gloves (Nitrile type) for this operation.
REMOVAL
I - REMOVAL PREPARATION OPERATION
- Position the vehicle on a two-post lift (see Vehicle: Towing and lifting) (02A, Lifting equipment).
- Remove the engine undertray.
- Drain the oil from the engine (see 10A, Engine and cylinder block assembly, Engine oil: Draining - Refilling, 10A-12).
- Remove the oil filter (see 10A, Engine and cylinder block assembly, Oil filter: Removal - Refitting, 10A-19).
- Remove the lower engine tie-bar (see 19D, Engine mounting, Lower engine tie-bar: Removal - Refitting, 19D-13).
- Strap the radiator to the vehicle using safety strap(s).
- Remove the clips from the front wheel arch liners on the radiator mounting cross member.
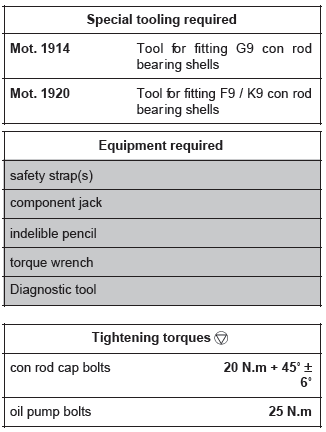
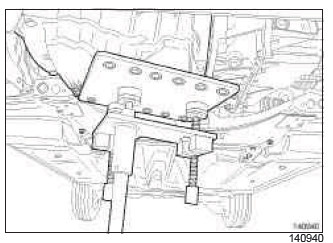
- Remove the side reinforcement mountings on the radiator mounting cross member (1).
- Remove the radiator mounting cross member without removing the front bumper (see Radiator mounting cross member: Removal - Refitting) (31A, Front axle components).
- Remove the relay bearing of the front right-hand wheel driveshaft.
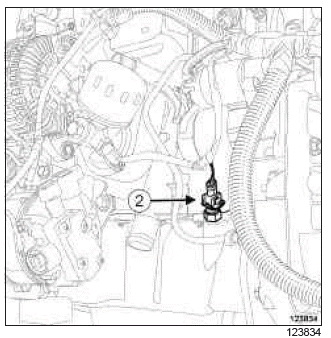
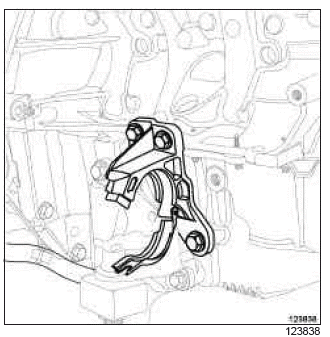
- Disconnect the oil level sensor connector (if equipped) (2).

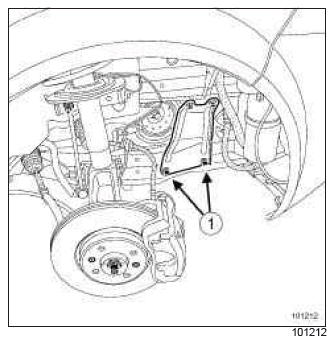
- Remove the catalytic converter upstream stay (3).
WARNING
Failure to observe the following procedure may damage the oil pump strainer.
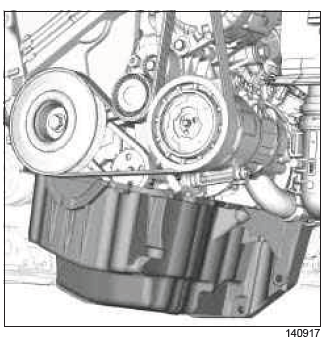
Undo the bolts of the engine oil sump.
- Fit a component jack to support the engine oil sump.
- Remove the bolts from the engine oil sump.
- Detach the engine oil sump, while supporting it with the component jack.
- Tilt the engine oil sump forwards in order to access the oil pump bolts.
- Partially loosen the oil pump bolts 3 mm to 5 mm.
- Detach the oil pump from its position in order to remove the engine oil sump.
- Remove:
- the engine oil sump,
- the engine oil sump seal,
- the oil pump.
II - REMOVAL OPERATION FOR THE CON ROD BEARING SHELLS NO.2
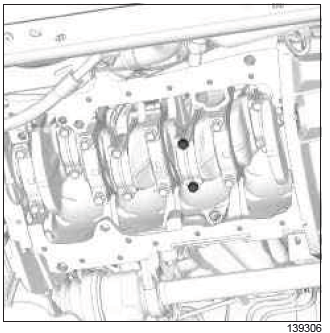
- Use SURFACE CLEANER (see Vehicle: Parts and consumables for the repair) (04B, Consumables - Products) to clean the big ends.
- Mark the position of the con rod cap in relation to the con rod body using a indelible pencil.
- Position the crankshaft at Top Dead Centre.
- Remove:
- the con rod bolts,
- the con rod cap,
- the lower con rod bearing shell.
Note: If reusing the con rod bearing shells, mark the position of the lower con rod bearing shell in relation to the con rod cap.
- Use SURFACE CLEANER (see Vehicle: Parts and consumables for the repair) (04B, Consumables - products) to clean the bearing mating face on the con rod cap.
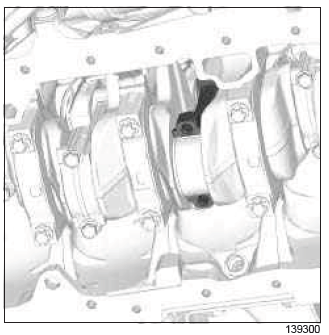
- Fit the tie rod of the tool (Mot. 1914) on the con rod body.
- Push the con rod upwards to release the con rod from the crankpin.
- Turn the crankshaft 90
READ NEXT:
D4F, and 740 or 742 or 764 REMOVAL I - REMOVAL PREPARATION OPERATION Position the vehicle on a two-post lift (see Vehicle: Towing and lifting) (MR 392, 02A, Lifting equipment). Disconnect the bat Oil pump: Removal -
Refitting
Oil pump: Removal -
Refitting
D4F, and 740 or 742 or 764 REMOVAL I - REMOVAL PREPARATION OPERATION Position the vehicle on a two-post lift (see Vehicle: Towing and lifting) (MR 392, 02A, Lifting equipment). Disconnect the bat Multifunction support:
Removal - Refitting
SEE MORE:
The Renault Clio IV (2014-2019) offers a satisfying driving experience with its nimble handling and responsive performance. Its compact size and maneuverability make it well-suited for urban driving and tight parking spaces. The precise steering and suspension tuning provide a balanced and confident
Driving
The Renault Clio IV (2014-2019) is designed with your comfort in mind. It features a well-crafted interior with quality materials and thoughtful ergonomics. The seats offer excellent support and adjustability, providing a comfortable driving experience. The cabin is designed to minimize noise and vi
Your comfort
© 2016-2026 Copyright Renault Clio Owners Club - 0.0035
