Renault Clio: Front wheel arch: General description
IMPORTANT
Use a repair bench to ensure the positioning of the points and the geometry of the axle assemblies.
Note: The information contained in the following describes the general repair procedure for all vehicles having the same design for this part.
Before reading the following general information, make sure that there are no special notes associated with the vehicle. These special notes are specified if necessary in other parts of the sub-section dealing with the component.
Note: For a detailed description of a particular connection, see MR 400.
DESIGN OF THE STRUCTURAL COMPONENT
Left side
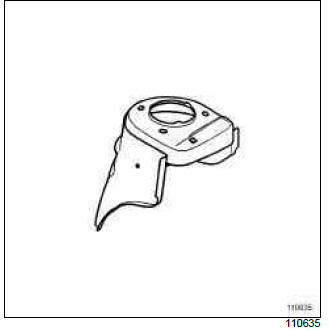
This is a basic part; it serves only as the front wheel arch.
Right-hand side
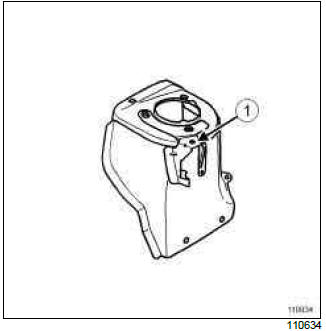
Two wheel arches are available, depending on the vehicle engine type:
- with windscreen wiper mechanism mounting (1),
- with engine tie-rod attachment.
Front wheel arch: Description
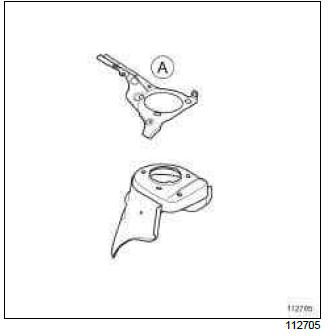
Front left-hand wheel arch
Front right-hand wheel arch
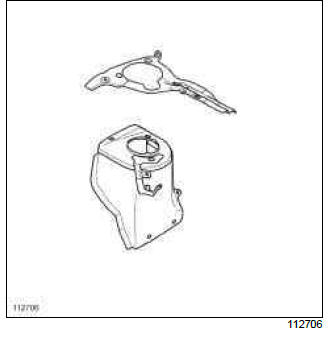
There is only one way of replacing this part:
- complete replacement.
When replacing this part, also order:
- the heater bulkhead reinforcement (A).
IMPORTANT
The straightening bench must be used.
I - COMPOSITION OF THE SPARE PART
Front left-hand wheel arch
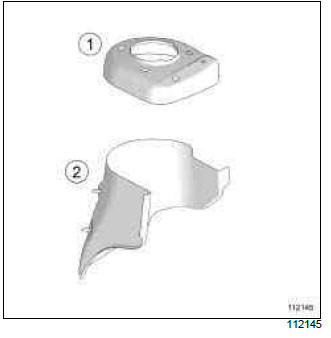
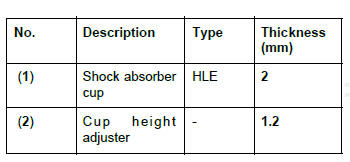
Front right-hand low torque wheel arch
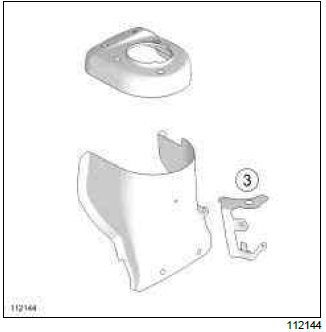
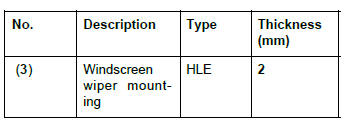
Front right-hand high torque wheel arch
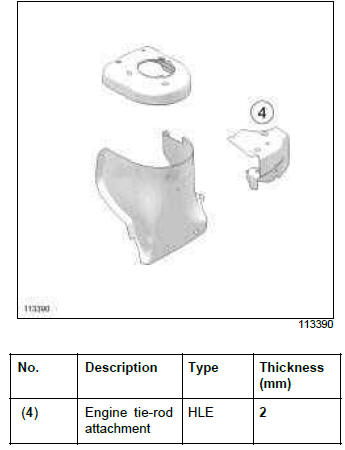
II - PART FITTED
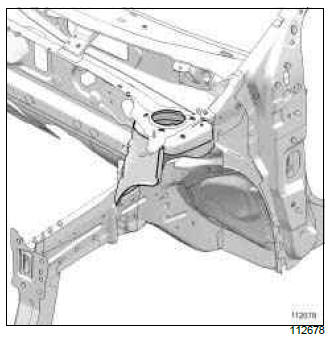
WARNING
If the spot welds cannot be made as they were originally using an electric spot welding machine, they should be replaced with plug welds after holes have been drilled in the first panel.
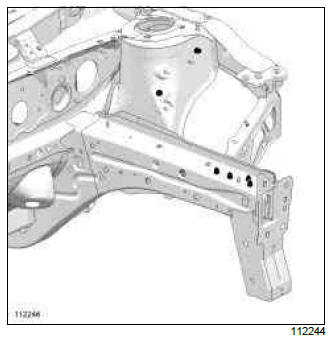
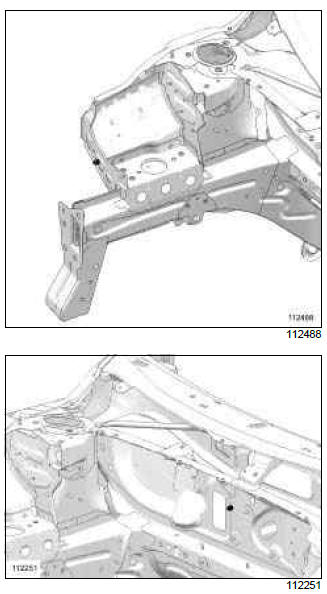
III - POSITIONING OF LOCAL ELECTRICAL EARTHS
IMPORTANT
To avoid damaging the vehicles electric and electronic components, the earths of any wiring harness near the weld area must be disconnected.
The welding machine earth must be placed as close as possible to the weld zone.

