Renault Clio: Dashboard: Stripping - Rebuilding
IMPORTANT
To avoid all risk of damage to the systems, apply the safety and cleanliness instructions and operation recommendations before carrying out any repair:
- (see Airbag and pretensioners: Precautions for the repair) (88C, Airbags and pretensioners),
- (see Vehicle: Precautions for the repair) (01D, Mechanical introduction).
IMPORTANT
To avoid any risk of triggering when working on or near a pyrotechnic component (airbags or pretensioners), lock the airbag computer using the diagnostic tool.
When this function is activated, all the trigger lines are inhibited and the airbag warning light on the instrument panel lights up continuously (ignition on).
IMPORTANT
Never handle the pyrotechnic systems (pretensioners or airbags) near to a source of heat or naked flame - they may be triggered.
STRIPPING
I - STRIPPING PREPARATION OPERATION
- Lock the airbag computer using the Diagnostic tool (see Fault finding - Replacement of components) (88C, Airbag and pretensioners).
- Disconnect the battery (see Battery: Removal - Refitting) (80A, Battery).
- Remove the dashboard (see 57A, Interior equipment, Dashboard: Removal - Refitting, 57A- 1).
II - STRIPPING OPERATION FOR PART CONCERNED
- Remove:
- the dashboard air vents (see 57A, Interior equipment, Dashboard air vent: Removal - Refitting, 57A-12),
- the passenger front airbag of the dashboard (see Passenger's frontal airbag: Removal - Refitting) (88C, Airbag and pretensioners).
REBUILDING
I - REBUILDING OPERATION FOR PART CONCERNED
- Refit:
- the passenger front airbag of the dashboard (see Passenger's frontal airbag: Removal - Refitting) (88C, Airbag and pretensioners),
- the dashboard air vents (see 57A, Interior equipment, Dashboard air vent: Removal - Refitting, 57A-12).
II - FINAL OPERATION
- Refit the dashboard (see 57A, Interior equipment, Dashboard: Removal - Refitting, 57A-1).
- Connect the battery (see Battery: Removal - Refitting) (80A, Battery).
- Unlock the airbag computer using the Diagnostic tool (see Fault finding - Replacement of components) (88C, Airbags and pretensioners).
Dashboard: Conversion
- Conversion to dashboard required to fit an offset audio socket.
I - CONVERSION PREPARATION OPERATION
- Remove the glovebox (see 57A, Interior equipment, Glovebox: Removal - Refitting, 57A- 16).
II - CONVERSION
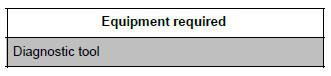
1 - Mounting holes for the offset audio socket unit
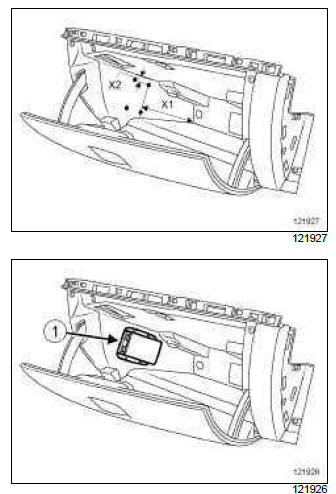
- For positioning the holes, use the offset audio socket unit (1).
- (X1) = 210 mm
(X2) = 15 mm - Drill the holes using a drill bit (
READ NEXT:
REMOVAL I - REMOVAL PREPARATION OPERATION Remove the trim (1). Unclip the gear lever trim. II - OPERATION FOR REMOVAL OF PART CONCERNED Remove the bolts (2). Push the seats forward as far Centre console: Removal - Refitting
REMOVAL I - REMOVAL PREPARATION OPERATION Remove: the centre console (see 57A, Interior equipment, Centre console: Removal - Refitting, 57A- 14), the radio and/or the navigation system (see Ra Centre front panel: Removal - Refitting
REMOVAL OPERATION FOR REMOVAL OF PART CONCERNED Unclip: the upper cover, the lower cover. Note: When removing the rear view mirror, be careful not to damage the rain sensor nearby. Disc Interior rear-view mirror: Removal - Refitting
SEE MORE:
Gear change indicator 1 To obtain optimum consumption levels, a warning light on the instrument panel lets you know the best time to move up or down a gear: move up a gear; move down a gear. Driving style indicator 2 Informs you about the driving style adopted in real time. You will b
Gear change indicator
Once the engine is switched off, you will see “Journey record” displayed on the screen 3, enabling you to view information relating to your last journey. This indicates: average fuel consumption; number of miles/kilometres travelled; number of miles/kilometres saved. An overall
Journey record
